
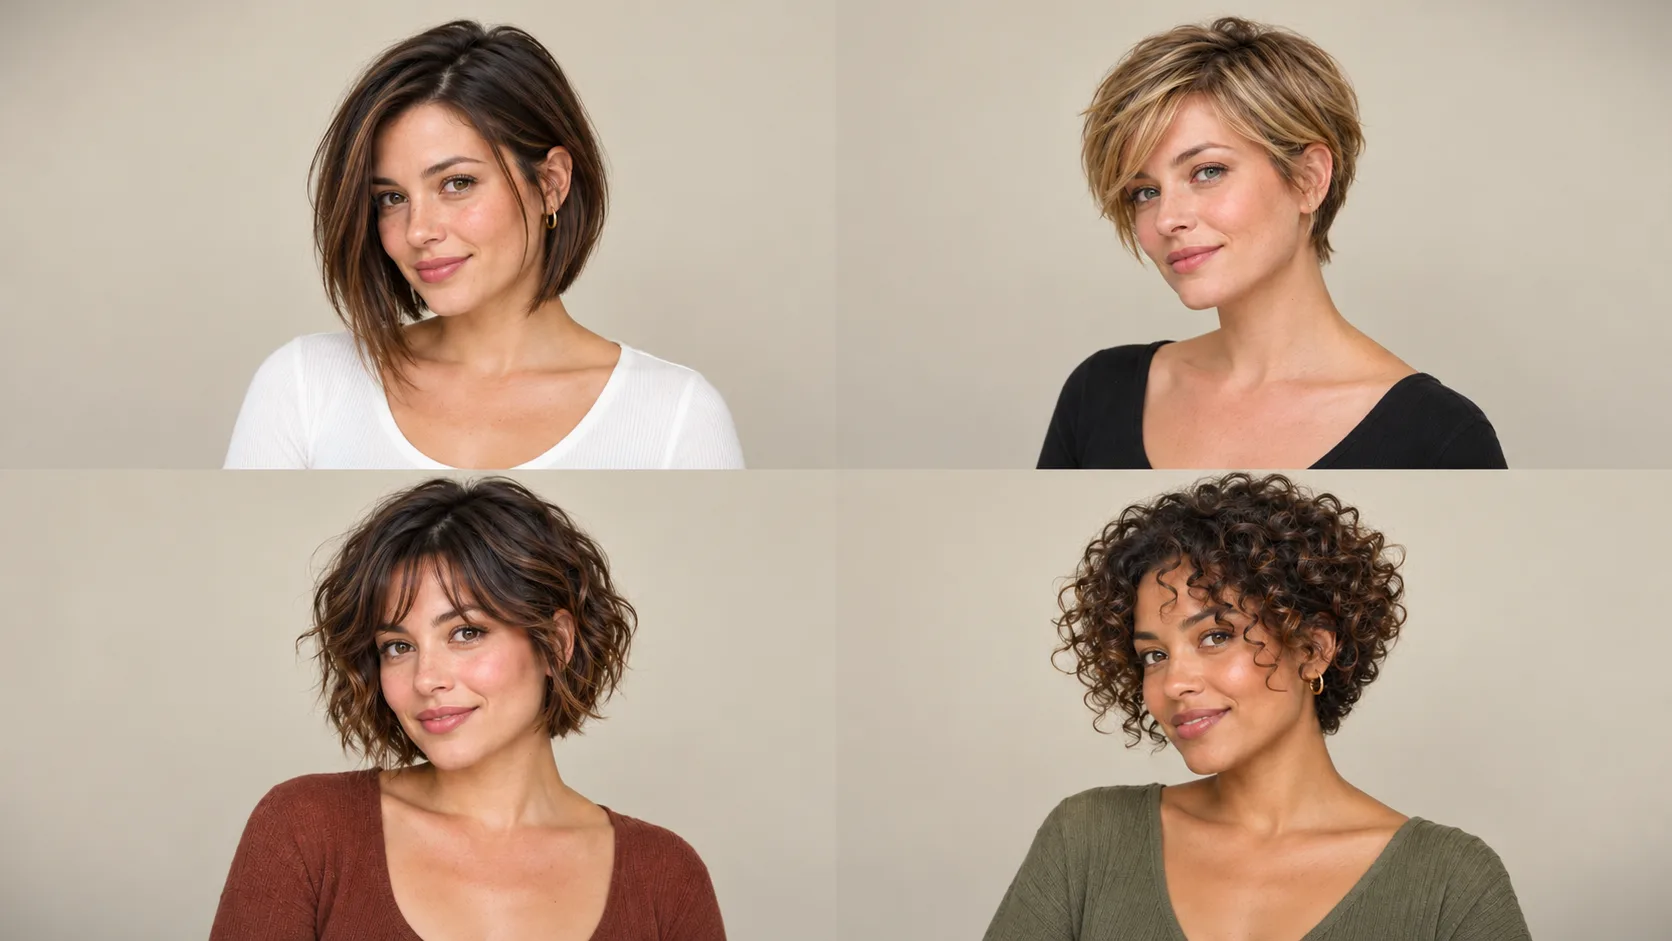
Introduction:
A bixie haircut style gives you short hair with room to change your part, wear a fringe, or keep soft pieces around your ears. You can choose a close, tapered shape or leave enough length for a small brush and a behind-the-ear tuck.
The name alone does not tell your stylist exactly what you want. A straight bixie with a smooth outline looks different from a rounded curly version. Your reference photos should show the front, sides, and back whenever possible.
These 16 ideas explain the shape, how to wear it, and what to discuss before you cut.
What Is a Bixie Haircut?
A bixie sits between a pixie and a bob. Modern Salon describes it as a textured combination of the two, with short layers and a longer outline. There is no single required length or cutting method.
A pixie generally keeps more of the hair close to the head. A bob usually has a more continuous lower edge. A bixie mixes a shorter layered interior with longer sections, often around the ears, cheeks, or nape.
Some versions lean toward a pixie. Others look like a small layered bob. Ear coverage, fringe length, and the shape at the back are more useful details than the haircut name alone.
Choose it because the shape fits your routine, rather than because a trend headline promises an easy result.
16 Bixie Haircut Style Ideas
These are descriptive variations to help you compare options. Several can be combined in the same haircut.

1. Classic Rounded Bixie
Rounded chestnut layers give your hair a soft outline, while the side-swept fringe leaves both eyes visible. Longer temple pieces connect the crown to the cheeks. For everyday styling, direct your fringe sideways and gently curve the side sections inward.
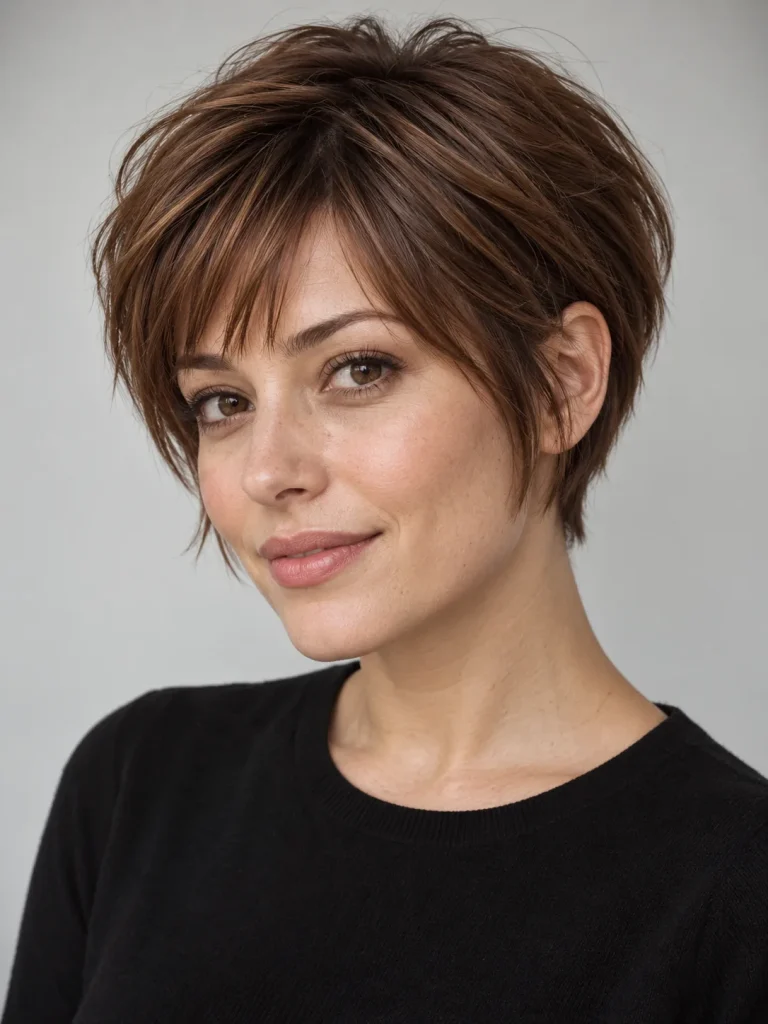
2. Short, Pixie-Leaning Bixie
Short crown layers and an exposed ear give your bixie a compact shape. Longer temple pieces preserve softness around your face. Use your fingertips to separate the fringe for a casual finish, keeping its ends loose rather than pressing them into a solid line.
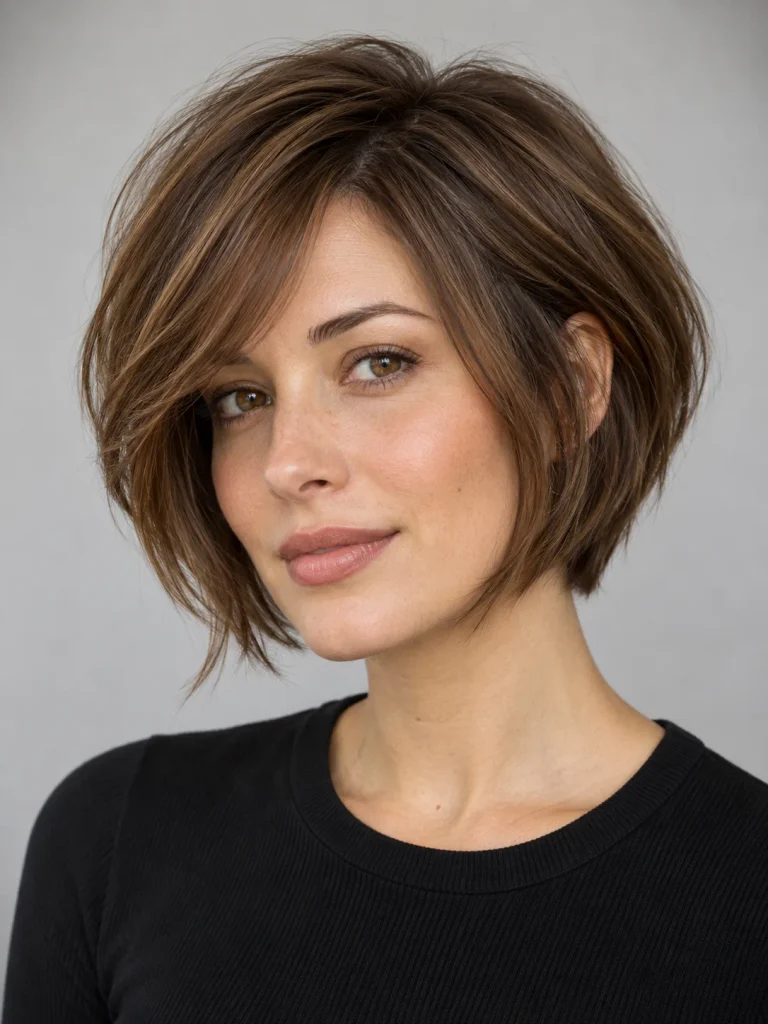
3. Long, Bob-Leaning Bixie
Jaw-skimming front pieces give your bixie a fuller outline, while shorter back layers keep the shape above your neck. The long fringe adds direction. For work or casual plans, lightly curve the ends inward to maintain the defined lower shape.
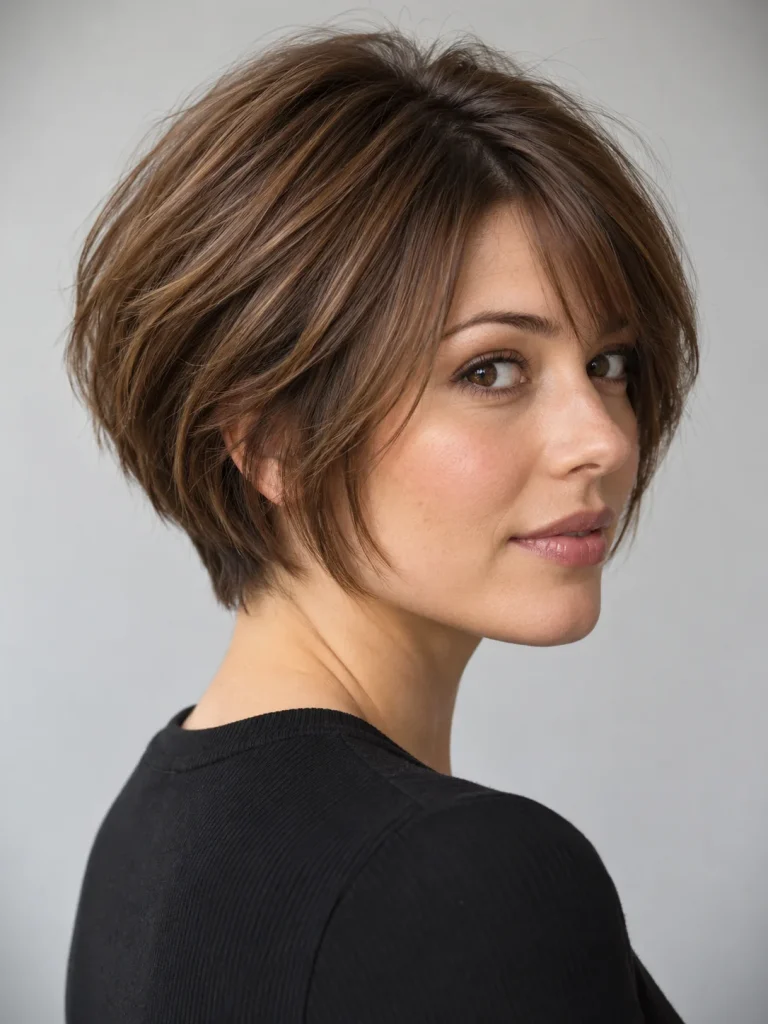
4. Graduated Bixie
A rounded back sits above your closely tapered nape, creating a visible change in length. Longer temple pieces soften the fitted neckline. For a tidy everyday finish, smooth the back downward and leave the cheek-framing sections free beside your face.
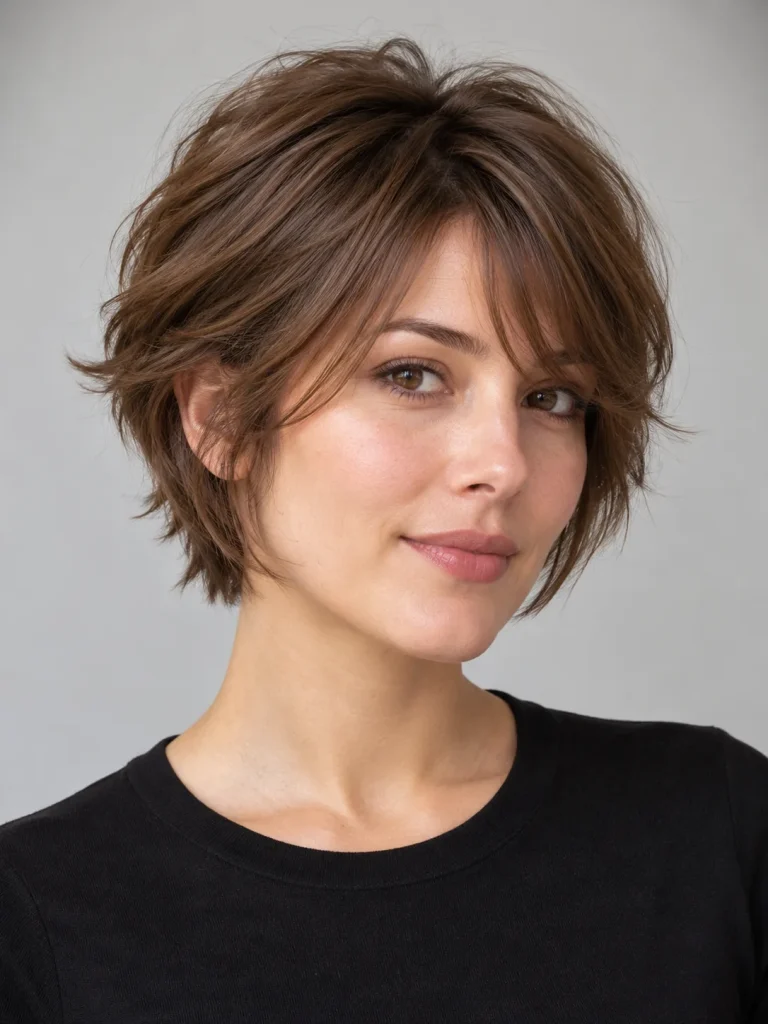
5. Feathered Bixie
Fine, overlapping layers create separation around your crown and temples. Outward-turning ends keep the outline light, while the fringe connects to longer cheek pieces. For casual styling, use a little styling cream on your fingertips to define individual ends.
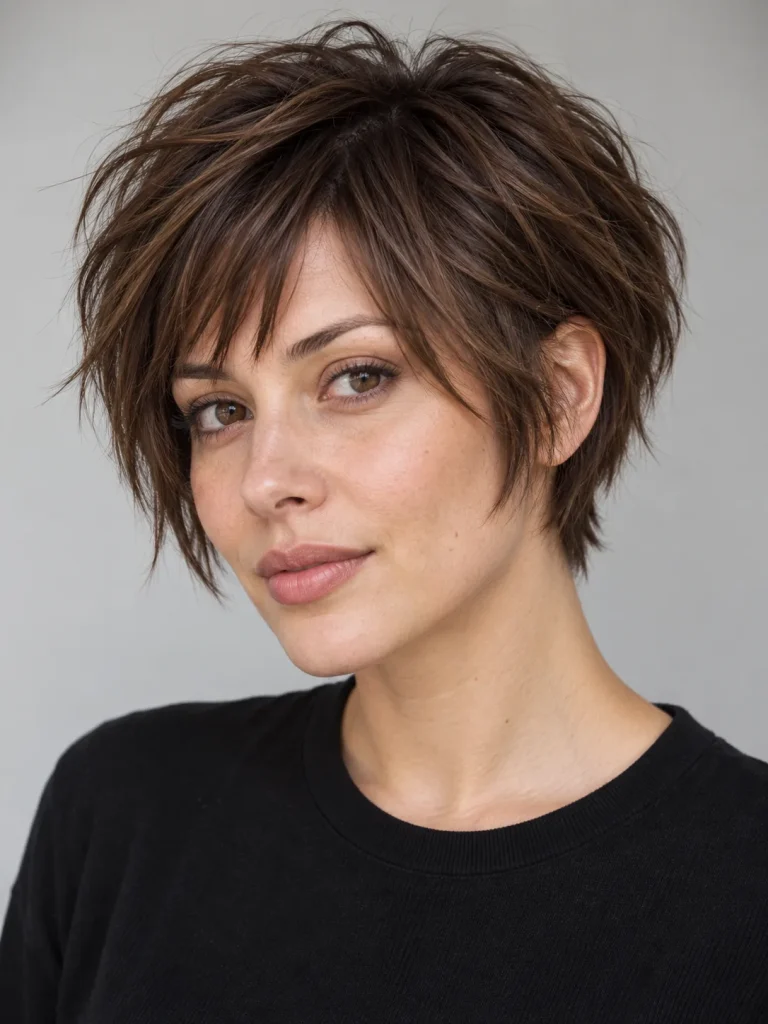
6. Choppy Bixie
Uneven layer lengths give your crown visible texture, with a broken fringe continuing the shape. Longer front sections balance the shorter ear area. For a casual finish, pinch a few dry ends with styling paste and leave your fringe loosely separated.
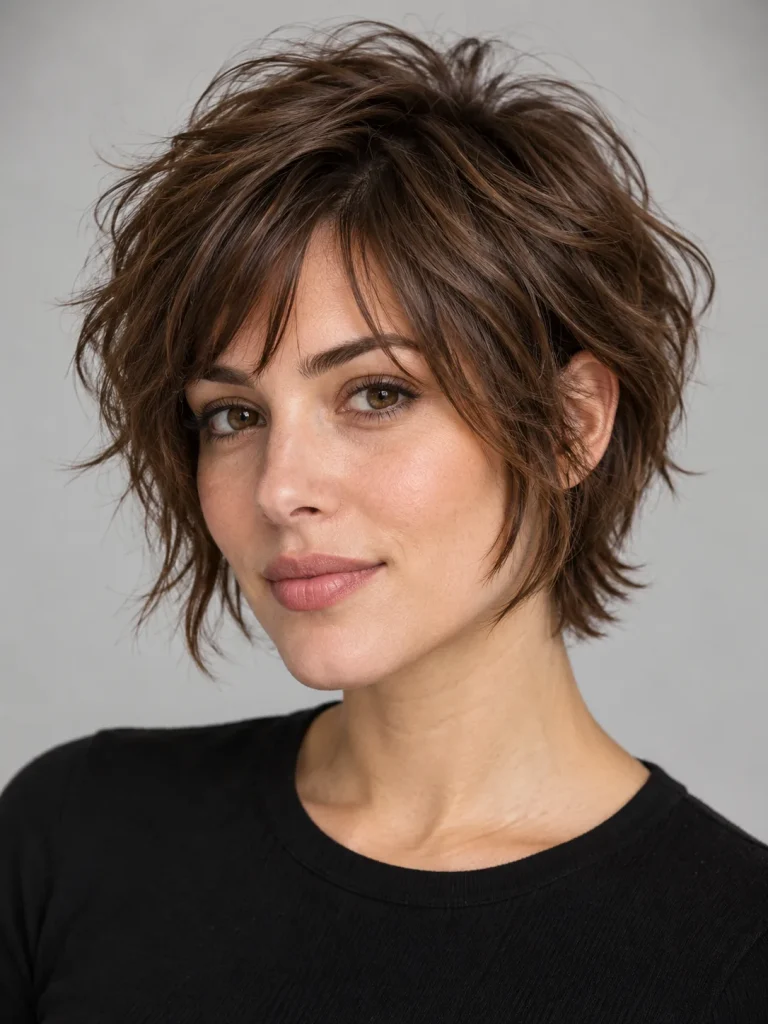
7. Shaggy Bixie
Short crown layers sit above longer, wispy sides, giving your hair a loose outline. The broken fringe and flicked nape suit relaxed daytime styling. Scrunch damp sections gently, then let them settle without repeatedly brushing away their natural bends.

8. Asymmetrical Bixie
One short side exposes your ear, while the opposite side reaches toward your jaw. The diagonal fringe connects the different lengths. For work or dinner plans, keep the longer section smooth and leave the short side visible to preserve the uneven outline.

9. Curtain-Bang Bixie
A center opening divides your fringe into curved sections that blend toward the cheekbones. Fuller sides keep your haircut rounded. For everyday styling, direct each fringe panel away from your face, leaving a gentle bend where it joins the temple pieces.

10. Full-Fringe Bixie
A full fringe gives your forehead a defined outline, while separated tips soften the edge. Rounded sides connect the bangs to your short back layers. For office styling, dry the fringe forward and settle its ends just above your eyebrows.
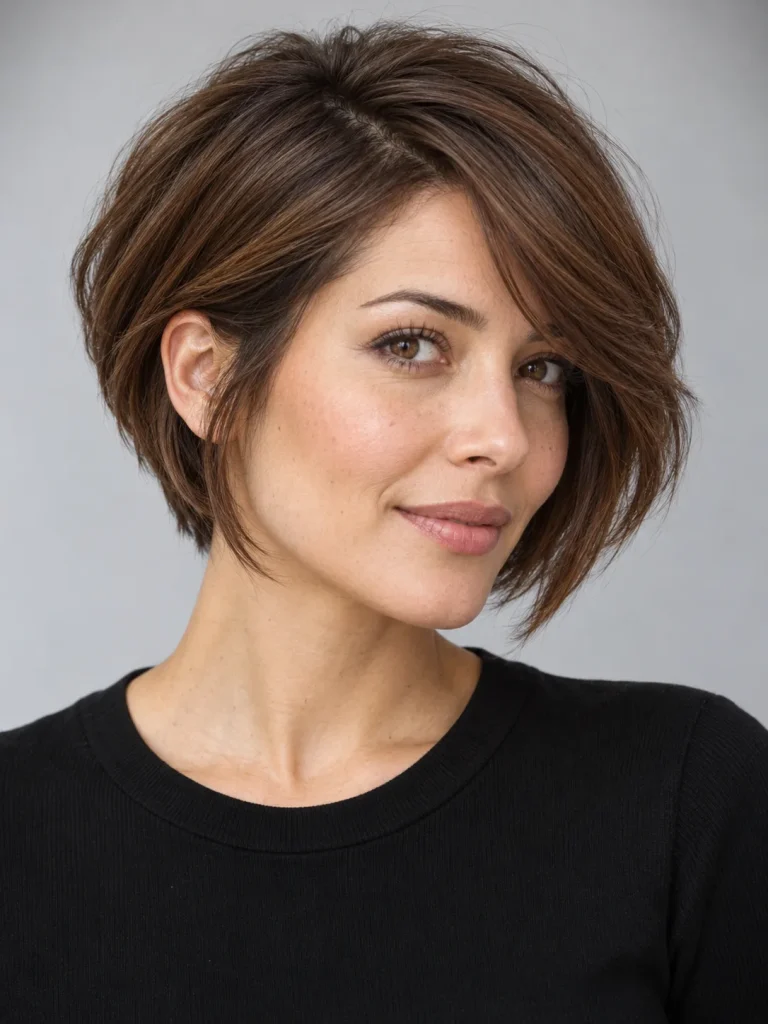
11. Long Side-Fringe Bixie
An extended fringe leads from your side part toward the opposite cheekbone. Tucking one side reveals the ear and keeps the sweep clear. For dinner plans, direct your fringe sideways as it dries, then lightly curve its ends toward your cheek.
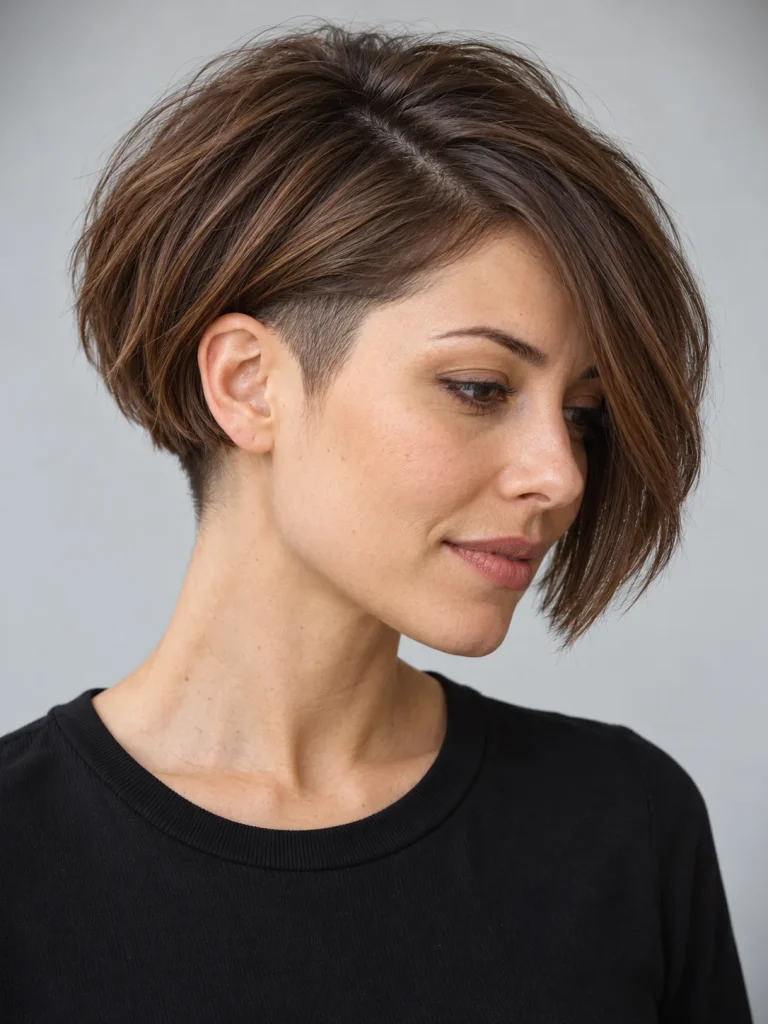
12. Undercut Bixie, Creative Adaptation
A clipped section around your ear and nape sits beneath longer rounded layers. The sweeping fringe retains length at the front. For casual or evening styling, reveal the undercut with a side tuck and keep the longer sections softly separated.

13. Naturally Wavy Bixie
Loose waves add bends through your crown, fringe, and sides. Longer cheek pieces connect to the rounded upper shape. For casual daytime styling, scrunch your damp hair gently and leave the fringe loosely divided. Let the waves settle before adjusting individual sections.

14. Curly Bixie
Defined curls form your rounded crown and short fringe. Longer temple curls connect the front to fuller sides. For everyday styling, arrange the fringe while damp, keeping your eyes clear. Let the curls dry before separating any sections that overlap.
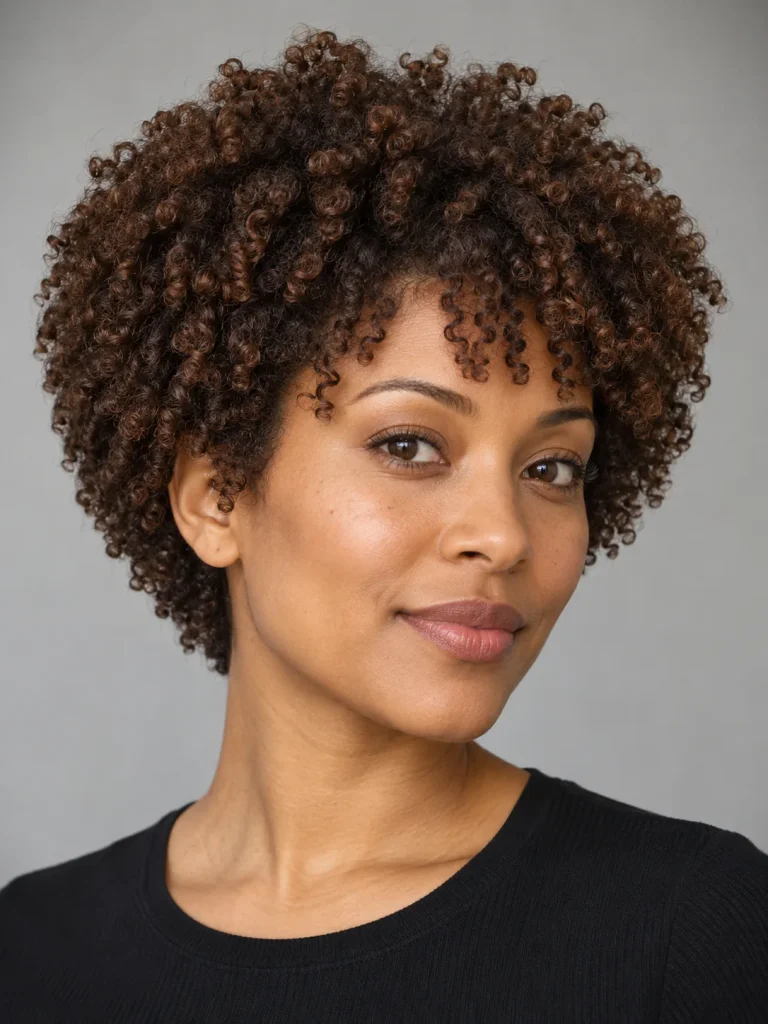
15. Coily Bixie, Texture Adaptation
Small chestnut coils create a rounded upper shape, with shorter sides and a defined fringe. Your ears remain partly visible. For an everyday finish, adjust only the coils that need separating after drying. Show your stylist the length you want in its dry state.

16. Sleek Bixie, Styling Adaptation
Smooth chestnut layers curve inward around your cheeks, while a side part directs the longer fringe. The fitted back keeps the outline controlled. Wear this finish for work or dinner. Smooth small sections in their natural direction and retain a little lift at your crown.
How to Choose Your Bixie
Start With Your Natural Texture
Choose references that show the finish you can reasonably wear most days. An air-dried wavy bixie and a straightened bixie may require different shapes and routines.
If you wear curls or coils naturally, compare dry outlines. If your hair is straight, check how much volume the reference depends on a blowout.
Decide What You Want to Keep Visible
Choose whether your ears, forehead, and neckline should be exposed or partly covered. These details can change how the cut feels more than a small difference in overall length.
Also check your glasses. Fringe that brushes the frames or sides that bunch around the arms may need adjusting.
Use Face Shape as a Preference Guide
You do not need to follow a strict face-shape rule. Decide which features you want framed and where you prefer volume.
If you want less width at the cheeks, discuss closer sides and longer front pieces. If you prefer width around the temples, ask about a softer, fuller outline there.
Your texture, growth pattern, and personal preference still matter.
What to Tell Your Stylist
Bring two or three photos with similar hair texture. Include a side or back view when available.
Use a clear request such as:
“I want a bixie with soft crown layers, sides long enough to tuck behind my ears, and a neat, unshaved nape. I usually air-dry. Please leave enough fringe length to move it to the side.”
Then explain how often you use heat, whether you wear glasses, and whether you are growing longer or maintaining the length.
Ask the stylist to show you the dry position of the shortest front pieces before agreeing to them.
How to Style a Bixie at Home
For Straight Hair
Dampen any sections that dried in the wrong direction. Apply a small amount of lightweight styling product.
Guide the fringe and roots with your fingers or a brush as you dry. Finish by separating a few ends. Use heat protectant whenever you use heated tools.
For Wavy Hair
Apply your preferred wave product to damp hair. Gently scrunch the sides and crown.
Let the fringe settle into its intended position, then air-dry or diffuse. Once dry, loosen only the pieces that need adjusting.
For Curly or Coily Hair
Apply products that already work for your texture. Arrange the front sections while damp, then allow them to dry with minimal disturbance.
Refresh flattened areas with a little water and an appropriate amount of product. Avoid adding a full new layer of product every time you refresh.
For a Morning Reset
Start with the fringe, crown, and nape, where short hair often changes direction overnight. Dampen those areas before adding more product.
A cut that dries quickly can still need daily reshaping. Test your routine rather than assuming short hair will always save time.
Maintenance and Growing It Out
For planning, discuss a trim around four to eight weeks after your first cut. Treat that as a starting range, not a fixed rule. Growth rate, neckline detail, and your preferred outline will change the timing.
A close nape or small undercut may need attention sooner. A longer bixie can sometimes keep an acceptable outline for longer.
Book a trim when the fringe blocks your view, the sides no longer sit as intended, or the back loses its shape.
If you want to grow toward a bob, preserve length through the top and sides. Explain that goal at every appointment so routine trims do not keep returning you to the original cut.
What to Avoid
Choosing Only a Front-View Photo
The back may be shorter, fuller, or more sharply cut than you expect. Look for side and rear views before deciding.
Asking for Heavy Thinning Without a Clear Reason
Removing too much weight can leave fine ends sparse or change how waves and curls sit. Discuss the exact area that feels bulky.
Cutting Bangs Without Checking Your Growth Pattern
Cowlicks can lift or separate a short fringe. Ask where the bangs will settle when dry.
Assuming Every Bixie Is Wash-and-Go
Your chosen finish may need a brush, diffuser, or morning reset. Tell your stylist what you will actually do at home.
Forgetting Your Exercise Routine
Many bixies are too short for a ponytail. Check whether you are comfortable using a headband or clips to keep hair away from your face.
Frequently Asked Questions
What Is the Difference Between a Bixie and a Pixie?
A pixie usually has a shorter overall shape. A bixie keeps more bob-like length in parts of the outline, often around the ears, face, or nape, while retaining short layers.
Is a Bixie Haircut Good for Fine Hair?
It can be. Keep enough density through the lower edge and avoid more thinning than your hair needs. Fine strands do not automatically mean low density, so your stylist should assess both.
Can You Have a Bixie Without Bangs?
Yes. Keep the front long enough to sweep back or blend into the sides. Check whether shorter crown sections will fall forward even without a separate fringe.
Does a Bixie Work With Curly Hair?
Yes, with a shape designed for your curl pattern and dry length. Use curly references and discuss shrinkage before choosing the shortest sections.
How Do You Grow a Bixie Into a Bob?
Let the shorter layers gain length while selectively tidying the outline. Avoid trimming every section back to the same bixie shape. Your starting lengths and growth rate determine the timeline.
Your Next Step
Choose your bixie haircut style by deciding on three details first: how much ear coverage you want, where the fringe should fall, and how you plan to style it.
Save two or three examples with a texture close to yours. Bring them to your appointment and describe your normal morning routine. That gives your stylist a clearer target than the haircut name alone.

